
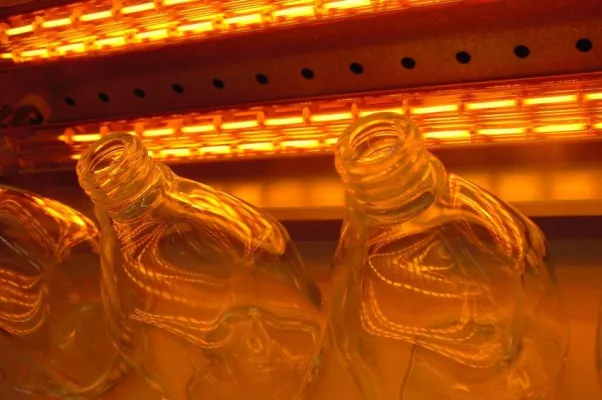
Stop the Chipping: Why We Preheat Glass with Infrared
If you’ve spent any time cutting thick or tempered glass, you know the frustration of “corner breakout.” You make your cut, you go to break it, and snap—a chunk of the edge chips off. It’s annoying, it wastes material, and it makes the finish look sloppy. The problem is that cold glass is just too rigid. It’s brittle. When the cutting wheel hits it, the stress builds up and the crack decides to wander off the line instead of following it. That’s where infrared (IR) preheating comes in. By warming up the glass, we’re basically relaxing the material. It softens the molecular structure just a tiny bit—not enough to melt it, obviously, but enough to let the cutting wheel glide through and create a clean, straight break. Getting the heat right We usually go with short-wave IR lamps. Why? Because they hit the glass instantly and soak in deeper. But here is the tricky part: the heat has to be even. If you have “cold spots” on your sheet, the glass contracts unevenly. That’s when you still get those jagged chips in the cold areas. You also have to watch out for “zebra striping.” That happens when your lamps aren’t spaced right, leaving hot and cold bands across the glass. It’s a balancing act. Too little heat and you’re still chipping; too much and you risk warping the glass or causing thermal shock. The trade-offs Now, this isn’t a magic fix without a cost. Adding an IR tunnel means your machine takes up more floor space and your power bill goes up. There’s also the “heat soak” issue. All that radiant energy doesn’t just hit the glass—it hits your sensors and your cutting head, too. If you’re running high-density lamps, you’ll need a solid cooling system for the conveyor frame. Otherwise, you’re just cooking your own hardware. It really comes down to a trade-off between getting a perfect edge and keeping your equipment from burning out. But for most of us, a clean cut is worth the extra engineering.