

The Real Struggle of Heating Ultra-Long Glass Tunnel Kilns
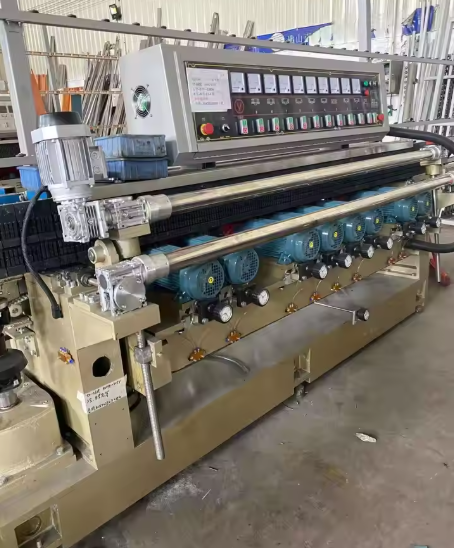
If you’ve ever tried to just “stretch” a standard heating lamp to fit a massive tunnel kiln, you know exactly why that doesn’t work. Once you push past the 2-meter mark, things get messy. You start dealing with voltage drops, and the tubes start to sag under their own weight. It’s a nightmare. That’s why we don’t do “off-the-shelf” for these. We build custom short-wave infrared (SWIR) units that actually fit together back-to-back, like Lego bricks. The battle with power and length Scaling up isn’t as simple as making a longer tube. If you aren’t careful with the voltage and wattage, you end up with “cold spots” right in the middle of the tube. Not great when you’re trying to get a consistent finish. To stop the tubes from bowing or warping when they get screaming hot, we use high-grade quartz glass. It keeps the tungsten filament steady and the heat where it belongs. Getting the layout right In a tunnel kiln, the gaps are the enemy. If you have even a few centimeters of empty space between your heaters, you’ll see uneven tempering in your glass. It ruins the batch. We fixed this by rethinking the end-caps. We use standardized connectors so you can line these units up in a row with zero gaps in the heat. Plus, we stick with short-wave tech because it doesn’t waste time heating up the air inside the kiln—it punches straight into the glass. A few things to watch out for Here’s the catch: these arrays pull a massive amount of power. If you’re running several 2-meter units at once, your electrical panels need to be ready for that initial surge of current. If they aren’t, you’re going to have a bad day. And yeah, these things gethot. Make sure your chassis and cooling fans can actually handle the ambient heat. If you skimp on the cooling, you’ll end up frying your wiring connectors over time. It’s a beast of a setup, but if your infrastructure can take the beating, the heat density is exactly what you need for serious glass work.