Getting Glass Annealing Right
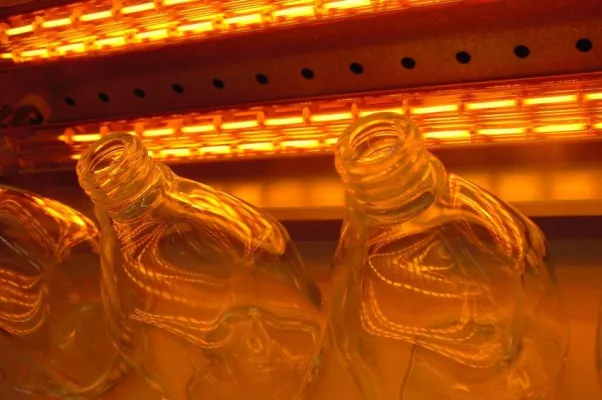
When you’re working with lab-grade glass, the line between a perfect piece and a pile of shards is incredibly thin. Sometimes it’s less than 1°C. That’s why we use twin-tube infrared heating elements. They let us hit a 0.1°C precision mark, which is really the only way to get rid of those hidden internal stresses that cause glass to pop when you least expect it.
Why the twin-tube setup matters
If you’ve used standard single-tube lamps, you know the struggle with hot spots. They make the glass expand unevenly. We went with a twin-tube design because it spreads the heat much more evenly. By doubling the surface area without taking up more room, we stop any one spot from getting blasted. It kills that annoying “skin effect” where the outside of the glass is screaming hot while the core is still shivering.
Staying locked in at 0.1°C
Hitting that kind of accuracy isn’t magic—it’s about how the element talks to your PID controller. These elements react fast. Because they’re so responsive, the system can tweak the power the second the sensor sees a dip or a spike. You don’t get that clunky thermal lag you’d find with old-school resistive coils. It just feels tighter. More controlled.
The “gotchas”
Look, this isn’t a magic wand you can just plug into any old setup. To actually keep that 0.1°C stability, your power supply needs to be clean. No noise, no ripples. If your voltage jumps around, your glass temperature will too. And don’t skimp on your chamber insulation. If you’re losing heat faster than the element can adjust, your temperature logs will start “hunting”—basically bouncing back and forth trying to find the target. We built these for the kind of work where a crack is a total disaster. Pair them with a high-res SCR, and you’ll have the exact soak times you need for your quartz or borosilicate.